
I remember the first time I pulled my night guard out of its case and felt a genuine wave of disgust. It was supposed to be a clear, protective shield for my teeth, but instead, it looked like something I’d found at the bottom of a limestone cave. That stubborn, milky film wouldn’t budge no matter how much water I splashed on it. If you have ever felt like your expensive dental appliance is slowly turning into a piece of frosted glass, you are definitely not alone. I spent months trying to figure out why my routine wasn’t working, and today I am going to show you exactly how to restore that crystal-clear finish without damaging the material.
The Real Reason Your Guard Lost Its Shine
Can you actually scrub away that milky film without ruining the plastic?
Many of us assume that cloudiness is just a sign of a cheap guard, but it is actually mineralized plaque, also known as calculus, that has bonded to the surface. Early on, I made the classic mistake of using a stiff toothbrush and abrasive whitening toothpaste to try and ‘sand’ the white spots off. I thought I was being thorough, but I was actually creating microscopic scratches that acted as magnets for more bacteria and stains. If you want to keep your smile healthy, you have to treat your guard with more care than just following standard teeth cleaning secrets. Interestingly, a study published in the Journal of Prosthetic Dentistry found that improper cleaning techniques can reduce the lifespan of dental appliances by nearly 40% due to structural fatigue. Whether you are focused on Invisalign maintenance or a heavy-duty night guard for grinding, the ‘scrub harder’ mentality is usually your worst enemy. Have you ever woken up, looked at your guard, and wondered if you were actually cleaning it or just making it worse? It is a frustrating cycle, but breaking it starts with understanding that we are dealing with mineral deposits, not just surface debris. We need to focus on dissolving those minerals rather than scratching them, which also helps stop your trays from smelling like old saliva. Let’s dive into the chemistry of why this happens and what actually works.To get that crystal-clear transparency back, we have to stop scrubbing and start dissolving. Since that stubborn white film is essentially a thin layer of ‘mouth-concrete’—calcium and mineral deposits from your saliva—the solution lies in a gentle chemical reaction rather than brute force. Think of your guard like a high-end camera lens; you wouldn’t use sandpaper to clean a lens, and you shouldn’t use a stiff toothbrush on your appliance.
Dissolve the Mineral Buildup with a Smart Soak
To break the bond between the minerals and the plastic, you need an acidic environment that is strong enough to eat the calcium but weak enough to protect the integrity of the guard material.
The Fifteen Minute Vinegar Reset
The most effective tool in your kitchen is distilled white vinegar. Create a mixture of one part vinegar and one part cool water. I remember the first time I tried this; I was terrified the acidity would melt my $500 guard into a puddle of goo. I sat on my bathroom floor, staring at the tiny bubbles forming on the surface of the plastic. After exactly fifteen minutes, I pulled it out and used my thumb to wipe the molar section. To my absolute shock, the ‘limestone’ texture that I had spent weeks trying to scrub off just slid away like wet flour. This approach is far more effective than falling for common teeth cleaning myths that suggest harsh abrasives are necessary. 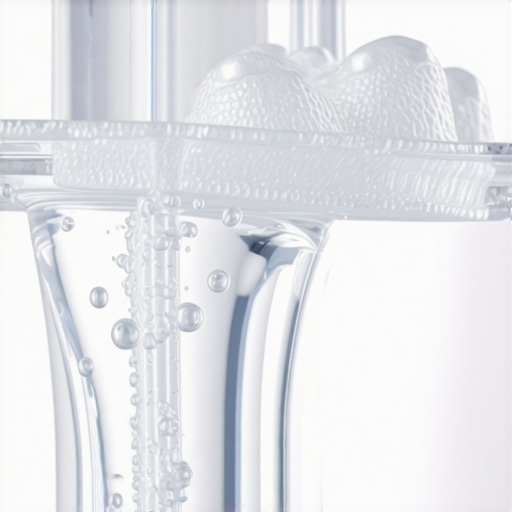
Avoid the Heat Trap
Whatever you do, never use hot or boiling water to ‘sterilize’ your guard. While it sounds logical to kill bacteria with heat, most night guards and aligners are made of thermoplastics. High heat will warp the fit, making it tight in some spots and loose in others, which can actually lead to jaw pain. This is a critical lesson in Invisalign maintenance—once the shape is compromised, the appliance is useless.
Tools That Protect the Surface Integrity
Once the minerals are loosened by the soak, you need to finish the job without creating new problems.
Switch to Non-Abrasive Cleaning Agents
I used to use whitening toothpaste to clean my guard, thinking it would make it look brighter. In reality, whitening pastes are loaded with silica, which acts like microscopic liquid sandpaper. Those tiny scratches are exactly where bacteria hide to make your appliance smell. Instead, use a mild, clear dish soap or a dedicated cleaning tablet. This small shift is the best way to stop your trays from smelling like old saliva long-term. Also, be wary of the truth about using baking soda to scrub away surface stains; while it works for some things, it can still be too gritty for softer plastic guards.
The Soft Brush Rule
If you must brush, use a dedicated soft-bristled brush—ideally a denture brush—that is separate from the one you use for your actual teeth. This prevents the transfer of the more aggressive bacteria from your mouth back onto the guard after it has been cleaned. If you are dealing with more than just minerals, such as discoloration from your morning brew, you might need to learn how to get the coffee stains out of your Invisalign attachments or the guard itself using specialized soaking solutions rather than more vigorous brushing.While dissolving minerals at home is a great start, there is a much bigger nuance people miss when they step into a professional setting. Most patients believe that the ‘best’ cleaning is the one where they feel the most scraping and pressure. I used to think the same—if I didn’t leave the chair feeling like my teeth had been through a car wash, I felt cheated. But here is the contrarian truth: aggressive scaling can sometimes do more harm than good, especially if you have naturally thin enamel. You might notice the specific reason your teeth feel sharp after a professional cleaning is often due to the removal of protective pellicles along with the tartar. Over time, demanding that ‘ultra-deep’ scrape every three months can actually lead to sensitivity that wasn’t there before.
Stop Chasing the Tighter Tray Feeling
One of the most dangerous traps in modern orthodontics is the ‘more pressure equals faster results’ mentality. I see patients all the time who try to skip ahead to their next tray because the current one feels ‘loose.’ This is a massive mistake. The truth about why your front teeth feel loose on Invisalign tray swap days is that your bone is literally in a state of flux. According to a study published in the American Journal of Orthodontics and Dentofacial Orthopedics, applying excessive force—like forcing a tray that doesn’t fully seat—can trigger root resorption. This is a permanent condition where your body begins to dissolve its own tooth roots because the pressure is too high for the blood vessels to handle. It is vital to understand why your teeth feel loose during your Invisalign treatment and respect the biological pace of bone remodeling. 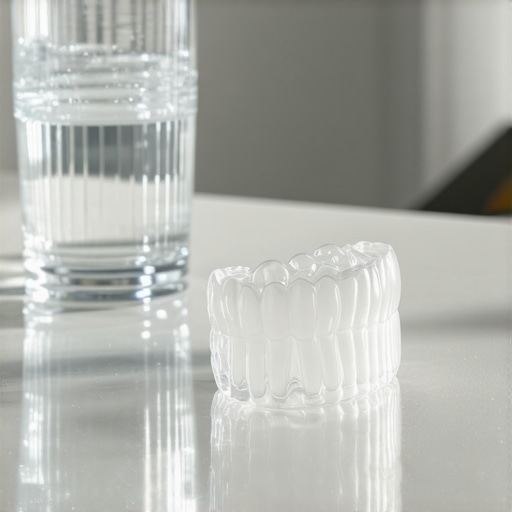
Is that squeaky-clean feeling actually damaging your enamel?
Many people obsessionally brush their guards and teeth after every single snack, but if you don’t wait at least thirty minutes after eating, you are actually brushing acid into your enamel. This is the hidden ‘oops’ factor of clear aligners. Because the plastic traps everything against your teeth, any residual acidity from a morning coffee or a fruit smoothie starts a cycle of demineralization. Even if you follow the teeth cleaning myths debunked by top dentists, you might still be doing damage if your timing is off. If you are looking into Invisalign innovations why 2025 is the year for a perfect smile, remember that the technology only works if you manage the microscopic environment of your saliva. Have you ever fallen into the trap of thinking ‘tighter is better’ or over-brushing your appliance? Let me know in the comments.Once you get past the initial learning curve of wearing an appliance, the real challenge begins: long-term consistency. I spent a small fortune on my dental work, and the last thing I wanted was for a lack of maintenance to send me back to square one. After trying every ‘life hack’ on the internet, I realized that high-tech tools actually simplify the process rather than complicating it.
The One Gadget That Changed My Morning Routine
For the first six months, I was the person standing at the sink with a soft brush and mild soap, meticulously cleaning every crevice of my trays. It was exhausting. Then, a dental hygienist friend introduced me to ultrasonic cleaners. These small pods use high-frequency sound waves—usually around 42,000 Hz—to create millions of microscopic bubbles that implode against the surface of the plastic. This process, called cavitation, reaches the tiny pits and grooves where bacteria hide that a brush simply cannot touch. I personally use one every morning with a single Retainer Brite tablet. It is hands-off, more effective than manual scrubbing, and ensures you are maintaining your teeth cleaning routine for long-term health without the risk of scratching the material. If you are serious about Invisalign maintenance, this is the single best investment you can make. 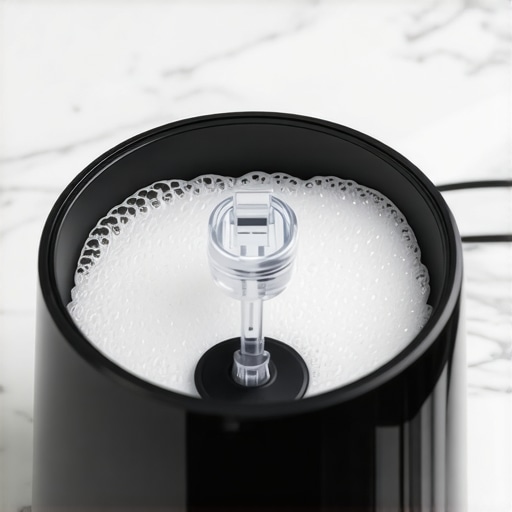
How do I keep my results from fading after the trays are gone?
The biggest ‘gotcha’ in the world of cosmetic dentistry is the assumption that your teeth will stay put once the treatment ends. The reality is that your teeth have ‘memory’ and will naturally try to drift back to their original positions. This is why retention is a lifelong commitment. You have two main options: removable clear retainers or a fixed lingual wire. I opted for both. The fixed wire is great because I don’t have to think about it, but it does come with its own set of hurdles, like learning how to remove stubborn spinach stuck in your permanent retainer without damaging the bond. According to a clinical review in the Journal of Clinical Orthodontics, biofilm accumulation is significantly higher around fixed retainers, meaning your regular teeth cleaning becomes even more critical to prevent localized gum recession.
Smart Tech is Taking Over Your Bathroom Mirror
Looking ahead, the way we manage our smiles is becoming increasingly data-driven. We are moving toward a future where smart toothbrushes won’t just tell you that you missed a spot; they will sync with your dentist’s office to flag early signs of demineralization or attachment wear. I predict that by 2026, remote monitoring through AI-powered smartphone apps will be the standard for anyone undergoing Invisalign for adults in 2025 and beyond. This allows for fewer office visits while ensuring your progress stays on track. If you haven’t yet, I highly recommend switching to an electric brush with a pressure sensor. It prevents the aggressive scrubbing that leads to sensitive teeth and ensures you are getting the most out of your daily care. My favorite advanced tip? Try using an ultrasonic cleaner once a day for your aligners or night guard—it’s a total game-changer for clarity and hygiene.
The Hardest Lesson I Learned While Chasing a Perfect Smile
Looking back on my journey, the biggest shift wasn’t a product but a mindset. I used to think dental hygiene was about visual perfection, but I learned that the microscopic environment of your mouth dictates how long your appliance lasts. Here are the lightbulb moments that changed my approach:
- Saliva is a double-edged sword: While it protects your teeth, its mineral content is what creates that ‘mouth-concrete’ on your guard. If you do not rinse immediately after removal, those minerals bond permanently to the plastic.
- Avoid the ‘clean-looking’ trap: Bacteria like Staphylococcus aureus can colonize clear plastic without making it look dirty. Proper Invisalign maintenance is about sterilization, not just aesthetics.
- Heat is a silent killer: Even a slightly too-warm rinse can cause micro-warping that puts uneven pressure on your molars.
My Non-Negotiable Tools for a Sparkling Guard
I have tried every ‘hack’ under the sun, but these three specific resources are the only ones I trust for long-term clarity. First, an ultrasonic cleaner with a 42kHz frequency is essential for reaching into the pores of the thermoplastic. Second, I always keep a pH-balanced cleanser on hand to avoid the acidity that clouds materials over time. I highly recommend reading through the latest maintaining your teeth cleaning routine for long-term health guide to find a balance that fits your schedule. Finally, treat your dental appliance with the same reverence you would any high-end cosmetic dentistry treatment.
Why Your Smile Deserves This Level of Care
You have already put in the hard work of showing up for appointments and wearing your trays; do not let a lack of maintenance dull the results. When you treat your night guard or aligner with expert care, you are protecting your investment and your health simultaneously. A crystal-clear guard is a reflection of a healthy routine. Have you ever struggled with a stubborn white film that just would not budge, or did you find a cleaning method that worked like magic? Let me know in the comments below!