
I was three bites into a cob of corn—completely forgetting that the trick to eating corn on the cob with dental implants or natural teeth is to be careful—when I heard that sickening, stony crunch. It wasn’t the corn. It was my lower molar deciding it had had enough. Within seconds, a jagged shard of enamel was acting like a miniature serrated knife against the side of my tongue. Every word I spoke felt like I was licking a cactus. It was a Saturday night, and like most people, I didn’t have my dentist on speed dial for a weekend emergency. I made a huge mistake early on by trying to buff it with a metal nail file—please, never do that!—before I remembered a simple, weirdly effective trick: sugarless gum.
Stop the Pain Before You Can Get to the Chair
When you have a broken tooth, the immediate danger isn’t just the lost structure; it’s the soft tissue trauma. If you leave that edge exposed, you’re looking at a mouth full of painful ulcers by morning. Today, I am going to show you exactly how to use a simple piece of sugar-free gum to create a temporary barrier that stays put and keeps you comfortable until you can find the right dentist for your smile journey. This isn’t about fixing the tooth—only a professional can do that with composite resin or a crown—but it is about survival in the meantime. Have you ever felt that sudden, sharp panic of a broken tooth in the middle of a dinner date?
Is using gum on a tooth actually worth the risk?
You might be skeptical. Putting a sticky substance on a broken tooth sounds like a recipe for a mess or even more pain. But here is the secret: sugarless gum is the key. According to the American Dental Association, sugarless gum is helpful because it doesn’t feed the bacteria that cause decay, and in an emergency, its pliable texture acts as a surprisingly good substitute for orthodontic wax. My biggest mistake when I first tried this years ago was using gum with sugar; the sugar hit the exposed nerve and sent me through the roof. By choosing sugar-free, you avoid that sensitivity spike while providing a firm, moldable cushion. We are going to cover how to prep the tooth so the gum actually sticks and what to avoid eating while you have your DIY barrier in place. It is a lot like learning how to stop a small chip from getting bigger; it is all about smart damage control until you can get professional help.
Clean the Crag Before You Seal It
You wouldn’t put a band-aid on a dirty knee, and you shouldn’t put gum over a tooth covered in food debris. Your first move must be a gentle lukewarm saltwater rinse. This isn’t just about hygiene; it’s about making sure the gum actually sticks. If there’s a film of plaque or sugars, that gum will slide off faster than a wet bar of soap. It’s the same logic behind how regular teeth cleaning can prevent major dental issues; a clean surface always holds better and reduces the risk of trapping bacteria against an open nerve. I learned this the hard way during a camping trip when I tried to ‘patch’ a chip without rinsing first—it fell out in ten minutes and tasted like the beef jerky I’d had for lunch.
Mold Your Temporary Shield Like a Pro
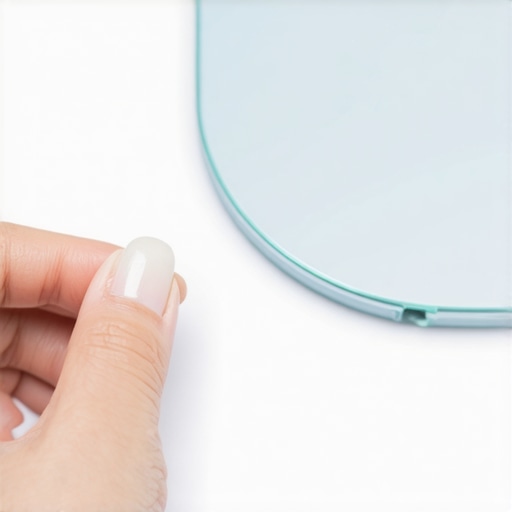
Pop a piece of sugar-free gum and chew it until it’s soft but not yet falling apart. Think of it like dental spackle. I remember being at my sister’s engagement dinner when my molar snapped on a piece of ice. I had to excuse myself to the restroom, find a piece of mint sugarless gum, and carefully press it over the jagged peak. The trick is to use a clean finger to smooth the gum over the sharp edge and tuck it slightly toward the cheek side for extra stability. It stayed for four hours, allowing me to finish the toast without slicing my tongue open. This is a vital part of how to stop a small chip in your tooth from getting bigger before you can get into a chair.
Why Temperature is Your Biggest Enemy
Once the gum is in place, you are on a restricted diet. Drinking a steaming cup of coffee or hot tea will turn your DIY shield into a gooey mess that sticks to your palate instead of the tooth. It can also trigger that sudden sharp pain when you bite down because the heat causes the material to shift and hit the exposed nerve. Stick to room temperature water and soft foods. If you already utilize teeth cleaning for sensitive teeth techniques, you know how much a temperature spike can hurt, but with a fresh fracture, the sensation is ten times worse.
When to Swap the Barrier
Don’t leave the same piece of gum in for twelve hours. Bacteria love dark, moist environments, and the gum will eventually lose its structural integrity. Replace it every 3 to 4 hours or after you eat. Every time you swap it out, check the area for any new redness. While we can eventually look into how we reshape jagged teeth without using any anesthesia for a permanent fix, your goal right now is purely mechanical protection. It’s like putting a tarp over a broken window; it won’t stop the storm forever, but it keeps the rain out of your living room tonight.
I spent years thinking my teeth were just naturally brittle, but as I worked closer with specialists, I realized I was falling for the same traps most patients do. We focus so much on the color of our smile that we ignore the mechanics of it. For instance, many people believe that orthodontic work is purely for the Hollywood look. In reality, why Invisalign is the future of clear braces isn’t just about aesthetics; it’s about properly distributing the force of your bite so your molars don’t snap on a piece of corn like mine did. When your teeth are misaligned, certain points take ten times the pressure they were designed for. It is a structural ticking time bomb that no amount of sugar-free gum can permanently solve. If you are looking into cosmetic dentistry myths debunked, you will find that the most successful treatments prioritize how the teeth function together above all else. 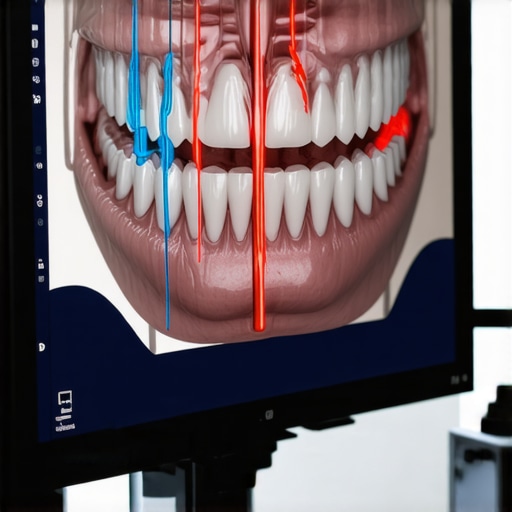
The Invisible Trap of Over-Whitening Your Enamel
The oops factor often comes into play with aggressive at-home whitening. We all want that radiant glow, but if you overdo it, you end up with porous enamel. This isn’t just a dental buzzword; it means you have stripped the mineral density, making the tooth a sponge for stains and much more prone to chipping. You might even notice why your gums look pale after using a high strength whitener, which is often a sign of chemical irritation that can lead to long-term recession. According to a study in the Journal of Dentistry, high concentrations of hydrogen peroxide can temporarily soften the tooth structure, making it vital to follow professional guidance rather than just reaching for the strongest box on the drugstore shelf.
Is your professional cleaning actually weakening your enamel?
I hear this all the time from people who are hesitant to visit the hygienist: ‘My teeth felt thinner after the professional used that vibrating tool.’ This is one of the most common teeth cleaning myths debunked by top dentists. That thinness you feel is actually the absence of calcified tartar, also known as calculus, that was acting like a dirty, bacteria-laden wall around your teeth. When it is gone, your tongue finally feels the true, natural shape of your tooth again. According to the Journal of Clinical Periodontology, removing this debris is essential because the bacteria living in that tartar secrete acids that demineralize the bone supporting your teeth. By ‘saving’ that feeling of thickness, you are actually inviting tooth loss. This is why when you are learning how to choose a dentist for your Invisalign transformation or a routine checkup, you should look for someone who explains the bio-mechanics of your mouth. A pretty smile that breaks is a failure of cosmetic dentistry; you want a balance of beauty and structural integrity. Have you ever fallen into this trap where a ‘fix’ seemed to cause a new problem? Let me know in the comments.
I realized recently that maintaining a healthy mouth is less about the grand gestures—like a massive whitening session—and more about the specialized tools you use every single morning. After my molar incident, I became obsessed with maintaining your teeth cleaning routine for long-term health. I stopped looking at my toothbrush as a plastic stick and started viewing it as a precision instrument. If you are still using a manual brush, you are essentially trying to mow a football field with a pair of scissors. I personally switched to a sonic electric brush because of the fluid dynamics it creates; the high-speed vibrations push toothpaste and water into those tiny gaps where a bristle can’t physically reach. This is one of those modern teeth cleaning innovations that reduce sensitivity and boost results significantly over time.
Upgrade Your Routine with Tools That Do the Heavy Lifting
The most important tool in my kit isn’t actually the brush, though—it’s the water flosser. For the longest time, I wondered why your dental hygienist uses a water flosser instead of manual tools, and once I bought one, I understood. It’s not just about removing food; it’s about disrupting the biofilm that hides under the gumline. A study published in the Cochrane Library systematic review confirmed that powered toothbrushes combined with interdental cleaning reduce gingivitis far more effectively than manual methods alone. I use mine on the ‘pulse’ setting because it massages the gum tissue, increasing blood flow and keeping the attachment tight around my dental work.
Why the Water Flosser is a Game Changer for Invisalign Users
If you are currently wearing aligners, you know the struggle of the ‘perpetual snack’—the cycle of taking them out, eating, and frantically cleaning. I’ve found that Invisalign maintenance expert tips for clear confident smiles always point back to keeping the attachments clean. Those little tooth-colored bumps are magnets for plaque. I also recommend a dedicated ultrasonic cleaner for your trays. It’s a small pod that uses sound waves to shake off bacteria. It’s the only way I’ve found to clean the stubborn cloudiness off your night guard or aligners without scratching the plastic with a brush. 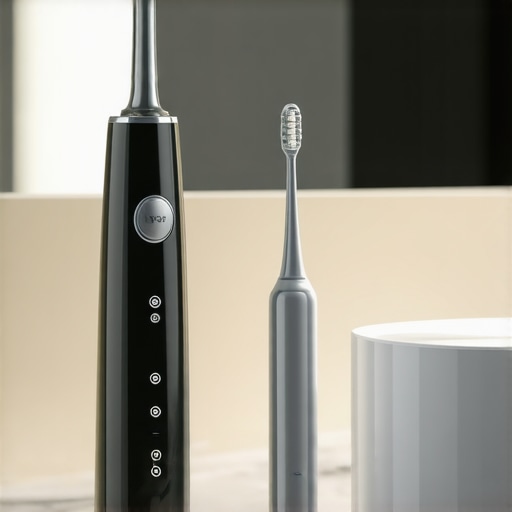
How do I maintain my dental results over the long haul?
Maintenance is a marathon, not a sprint. The secret I’ve learned from top pros is ‘micro-tracking.’ Every three months, I take a high-res photo of my lower front teeth in the mirror. It’s the easiest way to see if my lifestyle choices are causing subtle shifts or if I’m starting to see stain buildup again. I also keep a ‘dental go-bag’ in my car with interdental brushes and a small bottle of fluoride rinse. This ensures that even if I’m out for a long day, I’m not letting acids sit on my teeth for hours. It’s the difference between needing a $50 cleaning and a $1,000 crown later down the road.
What your dental care will look like in 2030
Looking ahead, I predict we are going to see smart-brushes that don’t just track where you brush, but actually analyze the pH levels of your saliva in real-time. We are moving toward a future where cosmetic dentistry trends that transform smiles will focus on biological ‘bio-hacking’—using toothpastes that actually re-grow enamel minerals rather than just covering up holes. If you want to jump ahead of the curve right now, my advanced tip is to try ‘dry brushing’ for thirty seconds before you even turn on the water; it allows you to feel exactly where the plaque is with your tongue before the slippery toothpaste masks it. Give it a shot tonight and see how much more ‘grit’ you find.
What My Broken Molar Taught Me About True Health
Looking back on my Saturday night disaster, I realized that my broken tooth wasn’t an accident—it was a message. I’d spent years ignoring the subtle signs of wear because I was too focused on the surface level. Here are the lightbulb moments that changed my perspective: First, I learned that even ‘strong’ teeth can snap if the bite force is uneven; it is a mechanical failure, not just a lack of calcium. Second, I realized that most dental emergencies are the end of a very long fuse that has been burning for months under the surface. Finally, I discovered that your dentist should be a partner in prevention, not just a technician for repairs. If I had understood cosmetic dentistry myths debunked earlier, I would have prioritized my bite alignment long before the crunch happened.
The Daily Gear That Keeps Me Out of the Emergency Chair
#IMAGE_PLACEHOLDER_E#
If you want to move beyond basic survival and into true oral mastery, you need a toolkit that does the heavy lifting for you. I personally rely on three specific items that have transformed my routine. I swear by my high-capacity water flosser; it is the only way I have found to handle the trick to flossing under a permanent dental bridge or tight contacts without shredding traditional floss. I also use a dedicated ultrasonic pod to keep my night guard pristine, which is one of the most overlooked Invisalign maintenance expert tips for clear confident smiles. Lastly, I keep a pH-balancing mouth rinse in my bag to neutralize acids after meals when I can’t brush immediately. These tools are the literal barrier between your enamel and the next emergency.
Your Path to a Break-Proof Smile
Building a smile that lasts a lifetime isn’t about one expensive surgery; it is about the small, intentional rituals you perform every morning and night. Whether you are currently researching cosmetic dentistry trends that transform smiles beyond expectations or simply trying to improve your teeth cleaning habits, the goal is the same: structural integrity. Your future self will thank you for the five minutes of extra care you invest today. Have you ever had a dental emergency strike at the worst possible moment? Let me know in the comments.